Tecnel Push and WiFi Step Relay 1 Channel 10A 230V TE7641WF

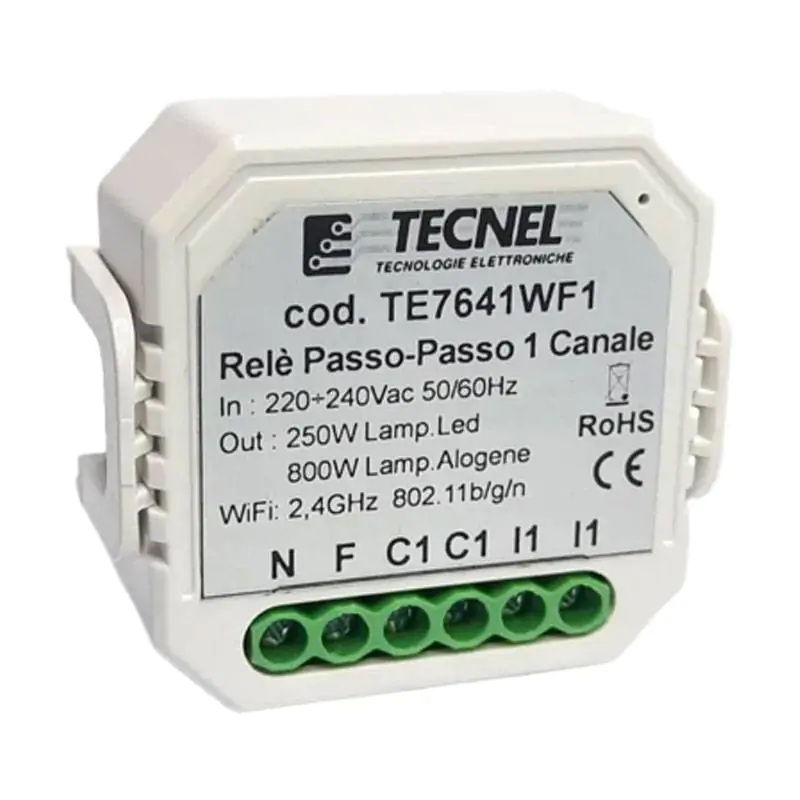
Tecnel Push and WiFi 1-Channel Step Relay with control by smart wifi app buttons and voice commands compatible with Google Assistant and Amazon Alexa with the following features:
- Input voltage: 230Vac 50Hz
- Contact: 10A 230Vac
- Control signal: Buttons, WiFi
- Technology: step-by-step relay WiFi command
- Degree of protection: IP20

Tax included
Electronic Stepper Relay 1 channel multi control via APP for controlling any Load even non-dimmable available on Google Play Store or iOS App Store as per instructions attached to product package. External controls via NA buttons or touch buttons or wireless radio with Remote Control and FM Receiver with contacts released from the supply voltage and with limited connections inside the electrical panel. For connections with longer distances defer control to a suitable monostable impulsive relay placed in close proximity to the WiFi stepping relay.
The WiFi Device operates on the 2.4GHz WiFi network. If you have a dual frequency 2.4GHz and 5GHz WiFi Modem, it should be set to 2.4GHz only. WiFi: IEEE 802.11 b/g/n.
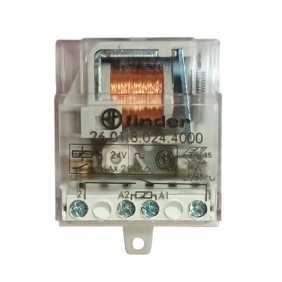
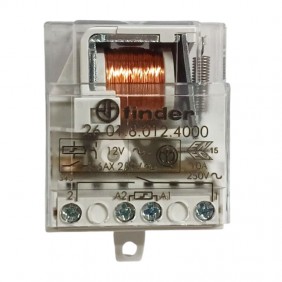
To protect both the electronic device and the load, a high breaking power fuse appropriate for the load or at least the maximum power rating of the Relay contact 10A cos?=1 230Vac should be inserted. The power rating must never be exceeded in any case.
Installation must be carried out in accordance with current IEC standards. Before working on the installation, disconnect voltage by acting on the main switch. Use yellow/green insulated conductors only for the ground connection. VeriÞcate that the cross-section of the power supply conductors is adequate for the supplied load and in any case not less than 1.5 mm². The WiFi Stepper Relay should be installed in moisture-free locations and away from heat sources.
Initial configuration:
- 1) Connect to the WiFi Router.
- 2) Download the APP named eWeLink to your smartphone and register with your credentials
- 3) To configure a WiFi RELE device step-by-step, press the + button at the bottom of the smartphone screen
- 4) On the device to be configured, press the button on the front for 7 seconds until the LED starts flashing rapidly
- 5) Press the Quick Pairing button on the smartphone, enter your WiFi password and press Next6) Wait for it to perform the pairing procedure and give the confirmation via pairing alert7) At this point you can rename the device and finish the pairing procedure
Scenario creation:
- 1) On the main page, press the Scene button located at the top
- 2) Press Add Scene
- 3) Enter the name of the Scene you want to configure
- 4) Add the Condition with which you will activate a scenario (Timer, Sunrise/Sunset, Activation from another device)
- 5) Add the various step-by-step WiFi RELE devices in unlimited number in the Run section
- 6) Press OK to confirm the created scenario
Step-by-step Relay configuration compatible with Google Assistant voice assistant:
- 1) Install and open the google Home APP.
- 2) Press the + button (2a) located on the top left and press configure device (2b)
- 3) Press Have you already configured anything? (3a) to bring up a list of services and then scroll down the list by searching for and selecting the Smart We Link service (3b)
- 4) Select the state in which you live and enter your eWeLink APP account credentials (4a) and press Log In(4b)
- 5) Press Login
- 6) At this point, the Voice Assistant is configured and ready to receive voice commands to control the WiFi Relay
Step-by-step Relay configuration compatible with Alexa voice assistant:
- 1) Install and open the Amazon Alexa APP.
- 2) Press the icon formed by three lines (2a) located on the top left and press Skill and Games (2b)
- 3) Press the magnifying glass icon (3a) located in the upper right-hand corner to search for Skill eWeLink (3b), select it, and press Enable alluse (3c)
- 4) Select the state in which you live and enter your eWeLinkAPP account credentials (4a) and press Log In (4b)
- 5) Once confirmed close the window in which you entered your credentials with the X (5) located in the upper left corner
- 6) At this point the Voice Assistant is configured and ready to receive voice commands to control the WiFi Relay
Data sheet
- Type: Impulse relays
- Model: Step relays
- Installation: Recessed