It is widely believed that the air conditioner installation is a particularly complex operation. Putting an air conditioner into operation on your own is actually within everyone’s reach, if you use a few tricks.
Are you planning to buy an air conditioner, but fear that installation may be particularly complex? Before calling in a technician, try to understand what it consists of so that you are not caught off guard. Although it may seem like an undertaking, in reality with a little care and the right tools, it can be a quick and minimally invasive operation.
We try to help you with our practical installation guide
Index:
- What you need to install the AC
- Where to install the AC
- Wires and pipes connection
- How to vacuum the AC
What you need to install the AC
Before starting to install the air conditioner, remember to have everything you need.
First of all, make sure you have all the necessary tools:
Second step is to make sure you have all the elements to assemble:
- Indoor unit
- Fixing plate (included in the package);
- Outdoor unit
- Brackets
- Mounting kit, that consists of:
- copper pipes or multilayer pipes for refrigerantthree-pole electric wire for power supply
- spiral condensate hose
- Vacuum pump
Where to install the AC
Once you have found everything you need, you need to locate the wall where the indoor unit of the air conditioner is to be installed, on which the appropriate fixing plate is to be mounted.
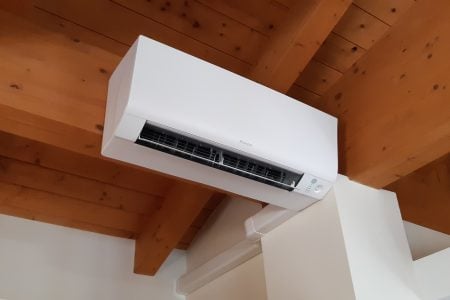
The position of the indoor split must necessarily depend not only on the conformation of the house, but also on where the outdoor unit will be installed, which must be as close as possible to the indoor unit.
In addition, it is recommended to install the indoor unit at a height of at least 2m, making sure that it is positioned higher than the outdoor unit, in order to create a slope of at least 5° and to facilitate the escape of refrigerant condensate via the special corrugated pipe.
As far as the outdoor unit is concerned, however, it is preferable to position it so that it is not particularly exposed to the weather.
When, for lack of space, it is not possible to install it on the floor on balconies and terraces, it is possible to use the appropriate wall brackets. In general, it is a good idea to leave at least 30cm free around both units, both at the top and at the sides, and to avoid placing them too close to heat sources or other electronic devices.
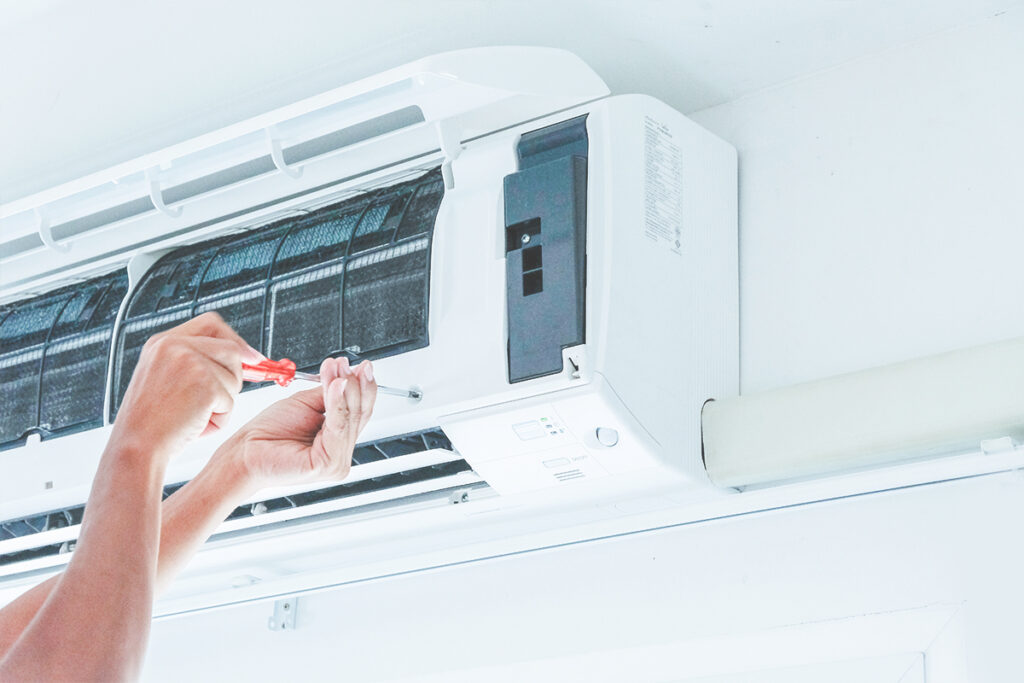
Wires and Pipes connection
The second phase of the installation concerns the preparation of the connections: two pipes for the refrigerant, one cable for the power supply and one hose for the condensate.
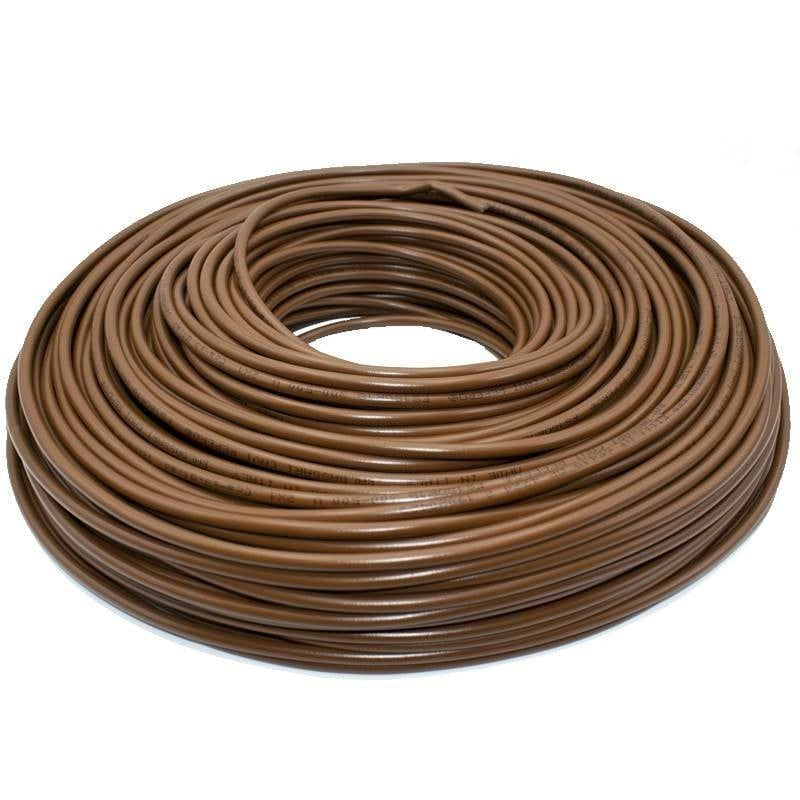
The pipes for the refrigerant can be made of copper or flexible multilayer, which is particularly suitable for those who prefer to avoid all possible complications in laying copper pipes, such as unsuccessful bends, crushed pipes and waste. There are two refrigerant pipes because one has the task of carrying the liquid refrigerant from the motor to the indoor unit, while the other carries the refrigerant in gaseous form back to the outdoor unit.
The cables for supplying the device can be of two types, depending on the power of the air conditioner: for 9000 and 12000 BTU splits 1.5 sq. mm insulated flame-proof cables are used, while for 18000 and 24000 BTU air conditioners you have to use 2.5 sq. mm wires. The pipes for draining refrigerant condensate, on the other hand, are corrugated or spiral pipes made of plastic material, treated to be particularly resistant to heat and sunlight.
Depending on the distance between the two units and the positioning of the windows, you can choose whether to run cables and connection pipes in the wall or in a specific PVC ducts.
How to vacuum the AC
One of the most important steps during the installation of an air-conditioning system is certainly the vacuuming of the refrigerant pipes, which ensures the elimination of air, humidity and any other impurities accumulated in the pipes, which in the long term could even permanently compromise the operation of the unit.
To create a vacuum, simply connect a vacuum pump to the compressor via a shut-off valve, which prevents the refrigerant from escaping. Back-to-back installations, i.e. those in which the two units are positioned on opposite sides of the same wall, require just 30 minutes of vacuum. For particularly complex installations, however, up to 2 hours may be required.
At this point, after checking that there are no refrigerant leaks, the air conditioner can be started up: if everything has gone well, it will start cooling the room immediately.
You might also be interested in:
- The best Air Conditioners of 2024 Top 10
- How to clean your air conditioner Useful tips